
For any facilities manager in the food and drink industry, the prospect of a major flooring refurbishment can be a source of significant stress, largely due to the risk of operational shutdown, contamination and compliance failure. This guide cuts through the complexity, providing you with a clear, phase-by-phase checklist to ensure your food hygiene flooring project runs smoothly, stays on schedule and delivers a fully compliant, durable solution. The goal is to minimise disruption and protect your production integrity from start to finish.

Phase 1: Pre-Installation Planning And Material Specification
A stress-free installation begins long before the contractors arrive, focusing on choosing a certified food safe flooring material that perfectly matches your environment’s specific operational and regulatory demands. Getting the specification correct at this stage eliminates costly delays and future compliance issues.
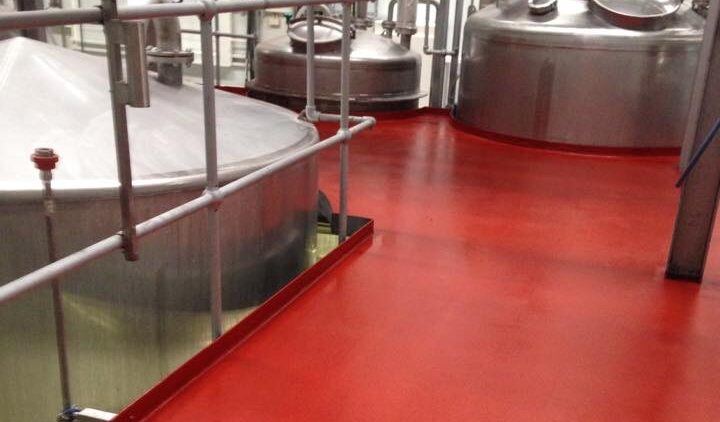
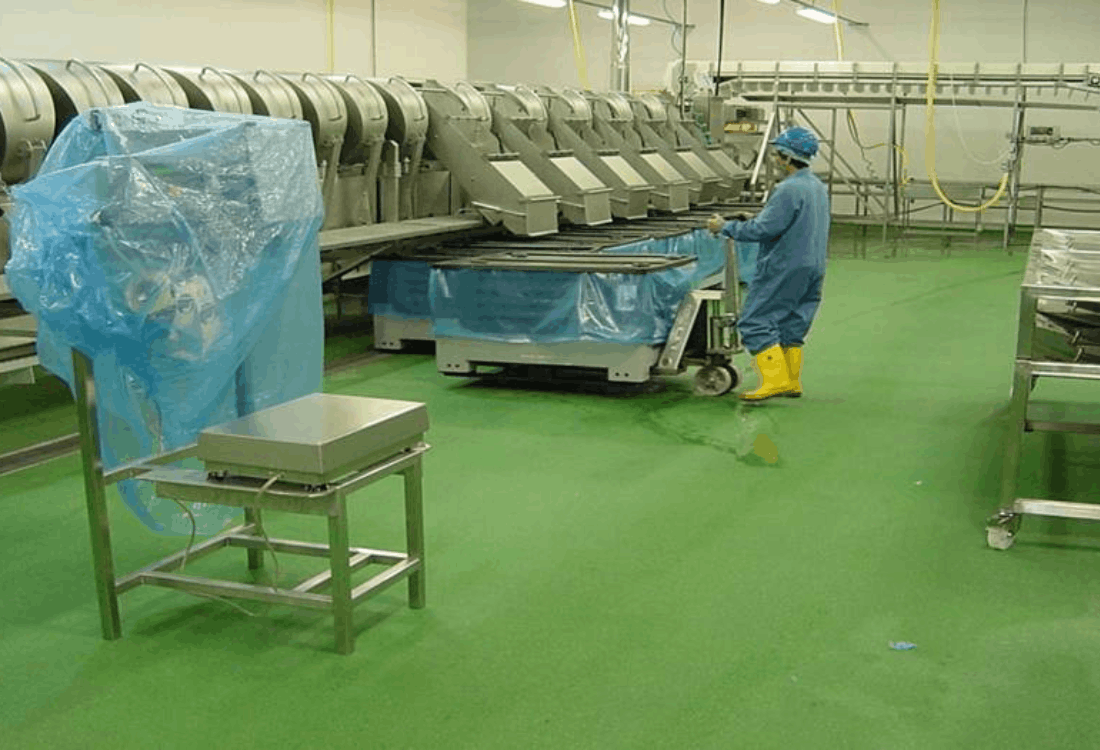
The material must be entirely non-porous and non-tainting. For most processing areas, a heavy-duty polyurethane resin screed is the preferred solution, offering superior resistance to the thermal shock caused by hot washdowns and the chemical attack from acids and sanitisers.
Key specification checks:
- Chemical Resistance: Verify the resin’s compatibility with your specific cleaning chemicals and processed ingredients (fats, lactic acids, sugars etc).
- Thermal Performance: Ensure the material can handle your maximum steam cleaning temperature without degrading or cracking, which would instantly compromise the food safe flooring.
- Non-Slip Rating: The surface profile must provide adequate safety (PTV rating) while remaining smooth enough to allow for effective sterilisation (a crucial balance for effective food hygiene flooring).
Choosing an established partner, like Central Flooring Services, ensures you specify a certified food safe flooring solution from day one.
Phase 2: Minimising Disruption During Food Floor Installation
The biggest pain point for facilities managers is downtime. Minimising the time your production line is out of action requires expert coordination and the strategic use of modern, fast-curing resin technology. A successful food floor installation demands meticulous logistical planning.
Effective planning involves three core areas:
- Phased Access: Work with the contractor to segment the installation into zones. By carrying out the work sequentially, perhaps during weekend shutdowns or designated maintenance periods, you can keep other areas of the production facility operational.
- Fast-Cure Resins: Specify Methyl Methacrylate (MMA) or rapid-cure polyurethane systems where possible. These specialised resins can achieve full chemical resistance and return-to-service functionality in a matter of hours, drastically shortening the total food floor installation time compared to traditional systems.
- Contamination Control: Ensure the installation area is completely sealed off from active production zones using polythene sheeting and air filtration systems to prevent dust and material fumes from contaminating foodstuffs.
Phase 3: Critical Substrate Preparation And Curing
The longevity of any hygienic flooring system is determined entirely by the quality of the substrate preparation. In short, if the concrete base fails, the resin will fail. This technical phase must be managed rigorously to guarantee durability.
Before any resin is applied, the existing concrete must be prepared via shot blasting or diamond grinding to achieve the necessary surface profile for maximum adhesion. Crucially, the floor must be tested for moisture content. Excessive moisture vapour in the slab can lead to delamination and blistering down the line. If high moisture is detected, the contractor must apply a suitable moisture-suppressant barrier before proceeding.
Furthermore, a professional hygienic flooring installation must include seamless, coved skirtings. These eliminate the 90-degree angle where the floor meets the wall, preventing the accumulation of dirt and bacteria and making sanitation simpler. Every stage, from preparation to final coving, contributes to the overall hygiene rating of the completed food safe flooring.
Phase 4: Compliance Handover And Long-Term Maintenance
The final stage of a stress-free project involves a thorough handover, verifying the floor's compliance and establishing a maintenance plan to ensure the long-term integrity of the hygienic flooring.
- Final Inspection: Verify that all planned falls lead directly to drainage, ensuring no standing water is present. Check the texture of the finished floor to confirm the slip-resistance level is correct.
- Documentation: Receive all necessary certificates, including material specifications and guarantees, to demonstrate compliance to auditors and inspectors.
- Maintenance Plan: Even the toughest food hygiene flooring benefits from preventative care. Establish a routine inspection schedule to quickly address any minor impact damage or signs of wear before they compromise the seal and risk contamination.
By using this structured checklist, facilities managers can convert a potentially high-stress food floor installation into a smooth, compliant and cost-effective upgrade that protects their business for years to come.
Consult Our Experts For Tailored Hygienic Flooring Specifications
To find out more about how to choose the right kind of hygienic flooring, get in touch with a member of our expert team here at Central Flooring Services. Book your free, no-obligation site survey today. We provide tailored recommendations to meet specific regulatory requirements and ensure maximum operational efficiency for your business.

Image Source: Freepik
Share this
What You Need to Know About Commercial-Grade Food Processing Floors

What You Need to Know About Commercial-Grade Food Processing Floors
Oct 14, 2024 12:30:00 PM
2
min read
Which Are The Best Floors For The Food And Drinks Industry?
Which Are The Best Floors For The Food And Drinks Industry?
Nov 18, 2024 12:30:00 PM
2
min read
The Facilities Manager's Checklist for Food Grade Flooring
The Facilities Manager's Checklist for Food Grade Flooring
Apr 9, 2026 10:00:00 AM
3
min read